3d-robotics X8 Plus Manuel d'utilisateur
Naviguer en ligne ou télécharger Manuel d'utilisateur pour Équipement aérien 3d-robotics X8 Plus. 3D Robotics X8 Plus User Manual Manuel d'utilisatio
- Page / 36
- Table des matières
- MARQUE LIVRES
- Operation Manual 1
- Meet the X8 2
- Contents 3
- Ground Station Radio 4
- Setup: Assembly 6
- 2 Unfold Legs 7
- 3 Attach Propellers 7
- Ground Station 8
- Power Management 9
- Charging 10
- Controller Battery 11
- Powering the X8 12
- Flight Basics: Safety 14
- Operating Limits 15
- Left Stick 16
- Standard (altitude hold mode) 19
- Loiter mode 19
- Auto mode 20
- Gimbal control 20
- Return to Launch 21
- Failsafes 22
- 100 ft (30 m) 5 miles (8 km) 23
- Status Indicators 24
- Safety Button 25
- Flight Procedures: Takeoff 26
- Safety button indicators 27
- Monitoring 29
- Missions 30
- Planning 31
- Mission Planner: Flight Plan 32
- Initiating 33
- Appendix: Troubleshooting 34
- Maintenance 34
- Resources 36
Résumé du contenu
X8+Operation ManualRead before flying!IMPORTANT
8ChargingCharge the battery before your first flight!1 Connect the charger to the power adapter cable and a wall outlet. Connect the red cable to the
9Controller BatteryThe controller is powered by 8 AA batteries (included). The controller’s flight data display allows you to monitor the voltage of t
10Powering the X8Follow these steps to power the X8.2Join the yellow connector on the battery with the yellow connector on the X8; this will power on
11Connecting to a Ground StationTo connect the X8 to a ground station, connect the ground station radio to your laptop or tablet, and power the X8.Tab
12Flight Basics: SafetyTo ensure safe and successful flying, always fly in accordance with your location regulations and these best operating practices.
13Operating LimitsAlways fly within the X8’s operating limits.Maximum Altitude* 100 m (328 ft)Range* 300 m (984 ft) from launch pointGPS Lock GPS lock
14Maneuver the X8 in flight using the controller’s two joysticks.left stick:throttle& yawright stick:pitch& rollLeft StickLeft StickLower the
15Flight TipWhen adjusting orientation, move the left stick horizontally without changing its vertical position.ActivateHold until propellers start sp
16ActivateHold until propellers start spinning.Take-off + LiftRaise just slightly for take offHover + LandLower just slightlyto hoverLeft YawLeftBackF
17!Standard (altitude hold mode)STDfly manuallyStart your flight in standard to select altitude hold mode, and fly manually using the controller.Loite
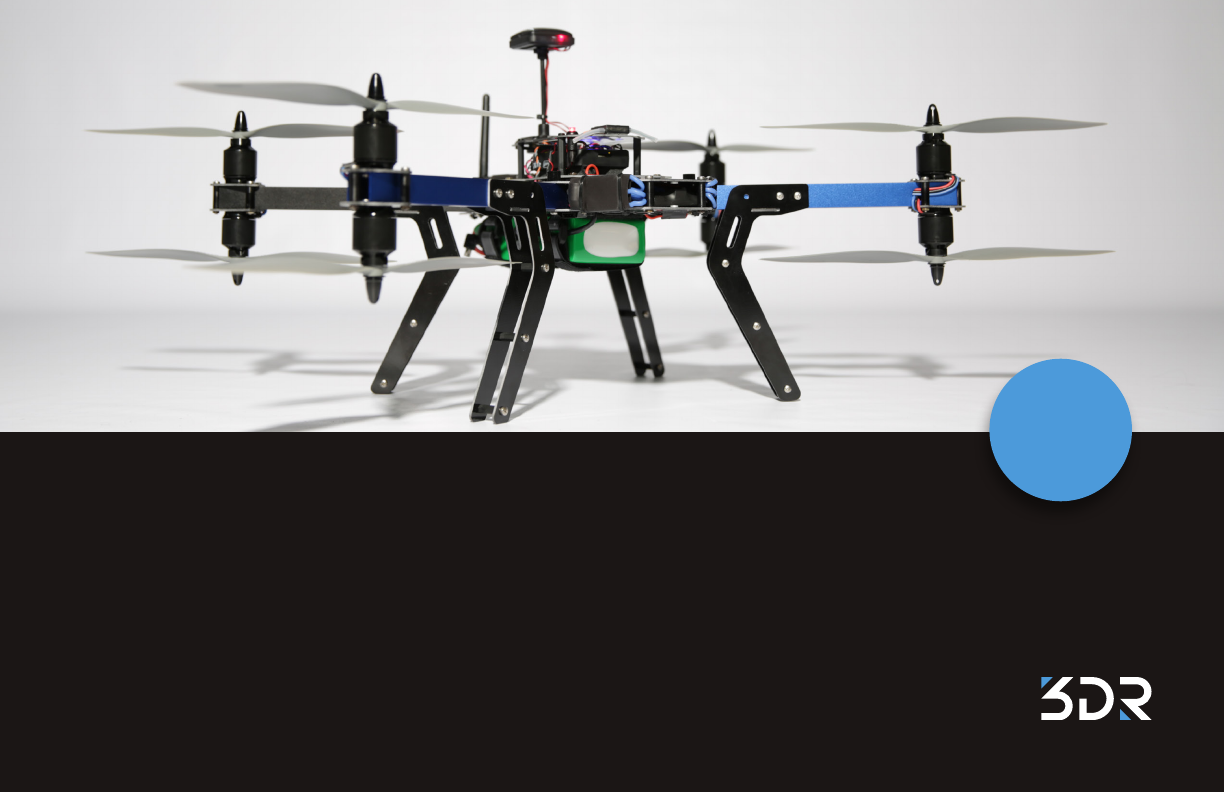
Meet the X8+Thank you for purchasing an X8+! The X8 is a powerful octocopter platform for aerial video. Review this manual in its entirety before your
18Auto modeAUTOfly a missionSelect auto mode to fly an autonomous mission. The X8 will automatically fly the series of waypoints saved to the autopilo
19land at the launch pointSet the RTL switch to ON to end your flight and return the X8 to the launch point automatically. Once you activate RTL, set
20Failsafesvisual line of sight400 ft(120 m)100 ft (30 m) 5 miles (8 km)400 ft(120 m)visual line of sight400 ft(120 m)100 ft (30 m) 5 miles (8 km)400
21GPS FailsafeThe X8 requires GPS lock before takeoff. Enclosed areas, physical obstructions, and lack of available satellites can affect GPS strength
22Status IndicatorsLow battery, automatic landingLoss of RC signal, automatic landingPre-arm safety check failure. Connect to a ground station and see
23Safety ButtonThe safety button indicates the status of the motors to allow you to arm and disarm the X8 safely.Safety buttonX8 Safety ButtonMotors i
24Flight Procedures: TakeoffFollow these steps to take off. » Propellers are attached tightly to the motors in the correct order and
25ArmAfter completing the checklist, you’re ready to fly! Arming and disarming are important steps that must be completed before takeoff and after land
26Landing1Press and hold the safety button until it blinks red. The motors are now inactive, and the X8 is safe to handle.2To disarm the motors, hold
27MonitoringPress and hold the DN button to access the flight data screens. Press DN again to toggle between screens.current flight modecontroller batt
ContentsParts 2Setup 4Assembly 4Ground Station 5Power Management 7Charging 8Safety 8Controller Battery 9Powering the X8 10C
28MissionsThe X8’s Pixhawk autopilot is capable of flying an autonomous mission without operator input. Ensure that you feel comfortable operating the
29PlanningSelect the DroidPlanner icon, select Editor. Tap to add waypoints, or select the brush tool and draw a path for the X8 to follow.Select Flig
30SavingSelect the option menu in the top-right corner, and select Send Mission. This will save the mission to the X8.On the Flight Plan screen, selec
31InitiatingStabalizeAltitude HoldLoiterFull AutonomyReturn to LaunchStabalizeAltitude HoldLoiterFull AutonomyReturn to LaunchLeft StickFor auto-takeo
32Appendix: TroubleshootingMaintenancePre-Arm Safety Check Failure`If the status LED displays blinking yellow, the X8 is failing one the pre-arm safet
33SpecsBattery: 4S 14.8V 10,000 mAh 10CBattery Dimensions: 6.6 in x 2.6 in x 1.4 in (16.7 cm x 6.5 cm x 3.5 cm)Battery Weight: 803 gAu
ResourcesThank you for being a responsible drone operator. For more information about the X8, visit the pages below.Online information portal: 3DR.co
2PartsUSB adapterGround Station RadioPropeller wrenchAndroid adapterSF propellers (4)SFP propellers (4)Charger and accessoriesGuard bagPixhawk micro-S
3Micro-USB port (not pictured, side of Pixhawk)X8+Front arms (blue)Rear arms (black)GPS mastPixhawk autopilotSafety buttonStatus LEDAntenna
4Setup: AssemblyThe X8 arrives in travel configuration. Complete these steps to prepare the X8 for flight.1 Unfold Arms12Remove the bolts and thumbnu
52 Unfold LegsRemove the bolts and nuts to the inside of the folded legs (1), unfold the legs, re-insert the bolts, and secure with the nuts (2).3 A
6Ground StationA ground station is a laptop or tablet running an ArduPilot-compatible mission control application. In the field, a ground station help
7Power ManagementThe X8 is powered by a rechargeable lithium polymer (LiPo) battery. When fully charged, the battery provides up to 15 minutes of flig
Produits connexes et manuels pour Équipement aérien 3d-robotics X8 Plus
 (8 pages)
© 2020, manymanuals.fr. Tous droits réservés | 0.128 s |
 Manymanuals.com
 Manymanuals.de
 Manymanuals.fr
 Manymanuals.it
 Manymanuals.pl
 Manymanuals.cz
 Manymanuals.es
 Manymanuals-pt.com
Commentaires sur ces manuels